Men's Health: 15 Best Exercises To Build Strong, Bulkier Triceps

Triceps

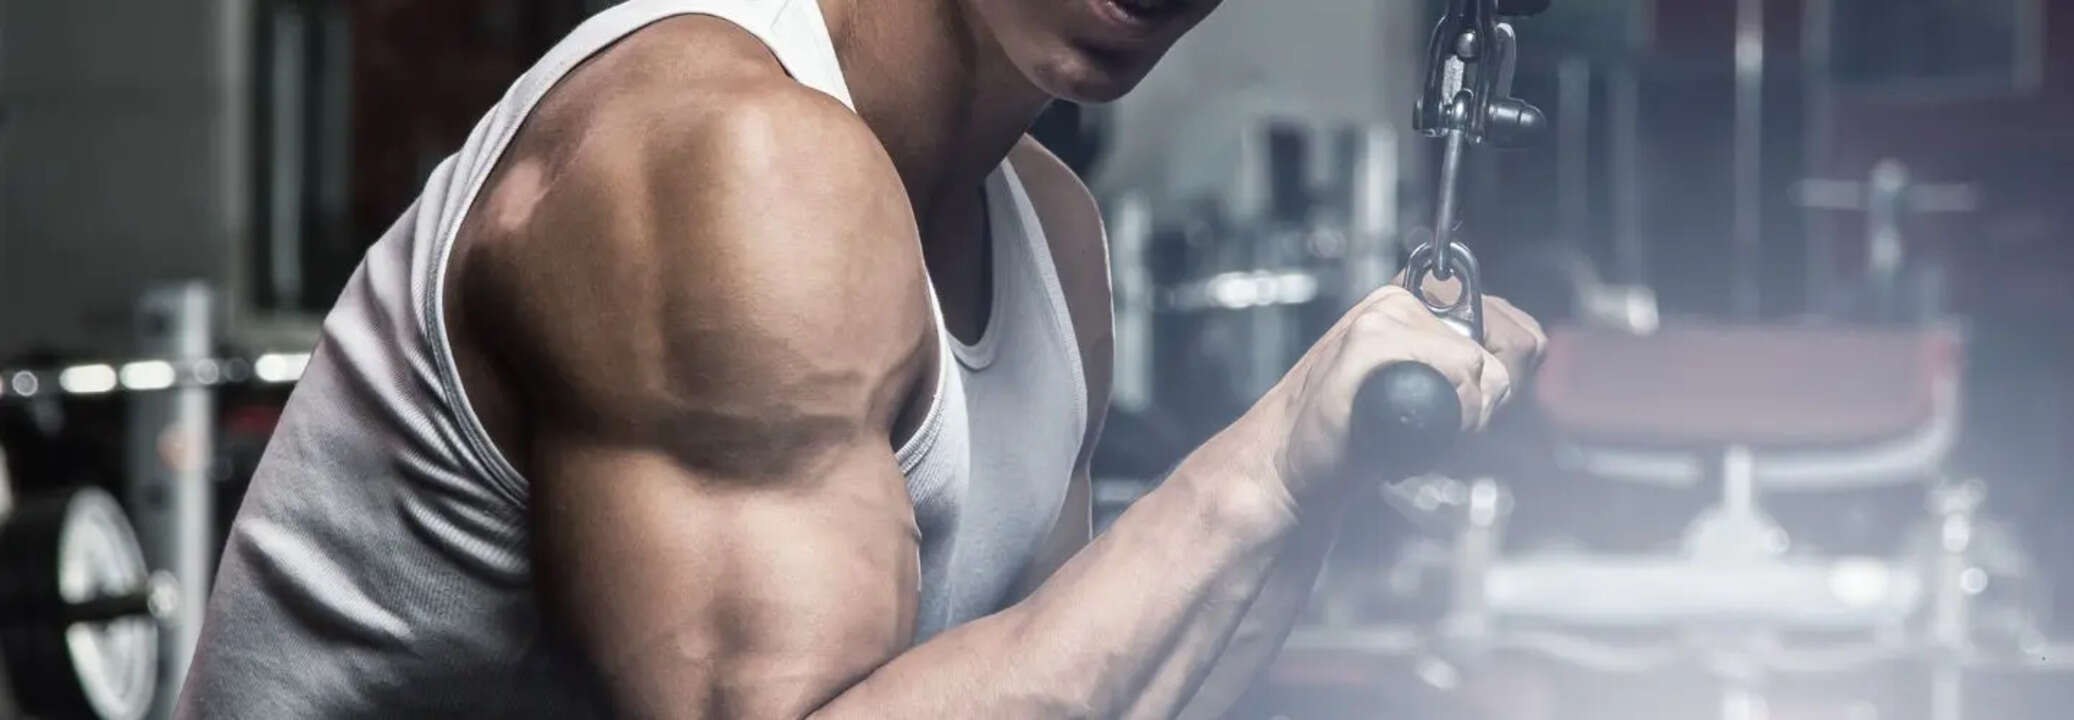
Triceps (Credit: Canva)

Text

Updated Oct 30, 2024 | 09:39 PM IST

SummaryYou cannot build strong, bulky arms by focusing on just your biceps. You need to work up your triceps, which are the largest muscle in your body.

Let's face it. You cannot build strong, bulky arms by focusing on just one muscle. Most men fall for the classic dumbbell curl, which focuses only on their biceps. What they fail to realise is that most of the show comes from the triceps. These muscles are the largest in your arms, and they are responsible for elbow extension, making them essential for movements like pressing.

Here Are 15 Exercise To Train Your Triceps

Triceps Pressdown

Triceps press downs are a popular choice for isolating the triceps and improving elbow extension, which is the muscle’s primary function. To perform the triceps press down, stand in front of a cable machine or resistance band setup, holding a rope or handle at chest level. Engage your core, keep your shoulder blades tight, and press down to extend your arms, moving only at the elbows. For a variation, lie back on a bench set to a 45-degree incline, keeping abs and glutes tight, and push down. This version emphasizes form and limits any assistance from other muscles. Aim for 3 to 4 sets of 8 to 12 reps.

Close-Grip Pushup

The close-grip pushup is a bodyweight exercise that emphasizes triceps engagement and can be done almost anywhere. Start in a pushup position, placing your hands just slightly narrower than shoulder-width, with your hands below your shoulders, core tight, and glutes engaged. Lower yourself by bending your elbows at a 45-degree angle without letting them flare out. Pause at the bottom, then press back up by straightening your arms. Complete 3 to 4 sets of 12 to 15 reps for a challenging triceps workout.

Bench Dips

Bench dips are a straightforward exercise but can stress the shoulders, so perform them only if you have good shoulder mobility. Sit on a bench, place your hands down with knuckles facing outward, and extend your legs straight. Squeeze your glutes and shoulder blades, supporting your weight on your hands. Lower yourself to a comfortable depth, then extend your arms to lift back up. Aim for 3 to 4 sets of 6 to 8 reps.

Close-Grip Bench Press

The close-grip bench press is a variation that targets the triceps by bringing your hands closer together on the bar. Hold the barbell above your sternum with arms straight, then lower the bar slowly and press back up. This change in grip increases triceps activation, promoting growth and strength. Perform 3 to 4 sets of 6 to 8 reps.

EZ Bar Skull Crushers

Skull crushers isolate the triceps by removing any momentum from other muscles. Lie on a bench, feet flat, glutes and core engaged, and hold the bar above your chest. Lower it to your head, moving only at the elbows. Extend your elbows to lift the weight back up. This exercise is best done for 3 to 4 sets of 8 to 12 reps.

Rocker Bodyweight Skull Crusher

This bodyweight skull crusher variation incorporates a rocking motion to stretch the triceps more effectively. Begin in plank position, then shift your torso forward, bringing your shoulders in front of your elbows. Lower your torso while keeping forearms on the ground, then straighten your arms to press up and return to plank. Do 3 to 4 sets of 8 to 12 reps.

Bench Overhead Triceps Extension

Using a bench for overhead triceps extensions offers more support and reduces strain on the shoulders and lower back. Lie back on a bench, hold a dumbbell with both hands, extend your arms overhead, and then extend your elbows to raise the weight. Aim for 3 to 4 sets of 8 to 12 reps.

JM Press

The JM Press blends the skull crusher with a close-grip bench press, emphasizing triceps strength. Lie on a bench, feet grounded, holding the weights above your chest, then adjust your arms to a 92-degree angle. Lower the weights until your elbows touch your ribs, then lift back up. Complete 3 to 4 sets of 8 to 12 reps.

Bodyweight Triceps Extension

This bodyweight exercise is gentler on the shoulders. Using a straight bar at about eye level, lock out your elbows in a plank-like stance. Bend your elbows to lower your torso, then straighten your arms to return. Perform 3 to 4 sets of 12 to 15 reps.

Dumbbell Bench Press

The dumbbell bench press targets the triceps and chest, allowing a larger range of motion. Lie on a bench with dumbbells at chest level, elbows angled at 45 degrees. Press the weights up, then control them as you lower. Aim for 3 to 4 sets of 8 to 12 reps.

Tall Kneeling Triceps Pressdowns

In this variation, kneel with thighs in line with your torso, grasping a resistance band. Extend each arm in turn, keeping your core tight and elbows in place. This exercise works best with 3 to 4 sets of 10 to 12 reps per arm.

Half-Bench Skull Crusher

This exercise combines core and triceps work. Lie on a bench with only half your torso supported. Hold a dumbbell and lower it towards your forehead by bending your elbow, then extend back up. Perform 3 to 4 sets of 8 to 12 reps per arm.

Triceps Kickback

For triceps kickbacks, hinge forward while holding a dumbbell and raise your elbow to keep your upper arm parallel to the floor. Extend your arm fully, squeezing the triceps, then lower. Complete 3 to 4 sets of 8 to 12 reps.

Cable Triceps Kickback

Using a cable machine for triceps kickbacks keeps tension constant. Stagger your stance, hold the cable, and extend your elbow without moving the upper arm. Lower slowly for 3 to 4 sets of 12 to 15 reps.

TRX Tricep Extension

With TRX bands, grip the handles and extend your arms while leaning forward. Bend your elbows, lowering your head between your hands, then extend back up. Do 3 to 4 sets of 12 to 15 reps.

End of Article

These Six Yoga Asanas Helped Kareena Kapoor Khan To Maintain A Smaller Waist

These Six Yoga Asanas Helped Kareena Kapoor Khan To Maintain A Smaller Waist

Credits: Instagram

Text

Updated May 3, 2025 | 06:00 AM IST

SummaryKareena Kapoor Khan, at 44, maintains her fitness with yoga and varied workouts. Her instructor, Anushka Parwani, reveals how yoga keeps her body balanced and strong.

Kareena Kapoor Khan, and whatever she does, is always making headlines. Even at the age of 44, she is an epitome of fitness. Out of her duties, she ensures to devote time to fitness, through various workout forms, including yoga.

Her Yoga instructor, Anushka Parwani, revealed in a recent interview with ETimes that Kareena in fact was her first ever student. She had always focused on fitness over weight loss.

Anushka Parwani is a celebrity trainer, who has trained Alia Bhatt and Deepika Padukone. In the interview, she shared insights from Kareena's routine and how her dedication to yoga keeps her fit!

What has helped Kareena is how she has been able to understand her body and its need and thus she compliments those needs with yoga. Her instructor also revealed that Kareena never desired to lose weight, but to maintain her overall fitness, including adjusting her waist size.

"Kareena is the most aware of her body. I know this because I have been with her...she was my first-ever student, not just the first actor I worked with. There is so much to learn form her because she is so aware. She has always loved yoga, and she understands her body as well. So, we know when to push a little and alter the workout or when to do variations and just do breathwork. Right now, we are very balanced. It is also about pausing. With experience and age comes pausing; she knows when to pause," shared her instructor.

Her instructor also revealed that the actor does a lot of mixes of animal flows, and strength, as well as cardiovascular-based workouts.

However, reveals her instructor, her true best friend to fitness has been yoga. This is also because Yoga offers a sustainable and holistic solution. It also combines fat-burning, muscle toning, and core strengthening benefits. Furthermore, yoga also helps one calm there mind.

Here are 6 yoga asanas that can help you stay fit and keep your waistline in check like Kareena Kapoor khan.

Here's for you to try out:

Trikonasana (Triangle Pose)

Benefits: Strengthens legs, stretches the spine and waist, improves digestion.

Steps:

  • Stand with your feet 3–4 feet apart.
  • Turn your right foot out 90°, and left foot slightly in.
  • Extend your arms out at shoulder height, palms facing down.
  • Inhale, then exhale and bend to the right, placing your right hand on your shin, ankle, or floor.
  • Stretch your left arm toward the ceiling, in line with your shoulders.
  • Look up at your left hand. Hold, then repeat on the other side.

Naukasana (Boat Pose)

Benefits: Tones abs, improves balance, strengthens core and hip flexors.

Steps:

  • Sit on the floor with legs extended and arms by your sides.
  • Lean back slightly and lift your legs off the floor, keeping them straight.
  • Raise your arms forward, parallel to the floor.
  • Your body should form a "V" shape.
  • Hold the pose, keeping your back straight and core engaged.
  • Breathe steadily, then release gently.

Ardha Matsyendrasana (Half Spinal Twist Pose)

Benefits: Improves spinal flexibility, aids digestion, massages internal organs.

Steps:

  • Sit with legs stretched out.
  • Bend your right knee and place your right foot outside your left thigh.
  • Fold your left leg, placing the left foot beside the right hip.
  • Inhale, raise your left arm; exhale and twist to the right, placing your left elbow on the outside of the right knee.
  • Place your right hand behind your back for support.
  • Look over your right shoulder. Hold, then repeat on the other side.

Parivrtta Utkatasana (Revolved Chair Pose)

Benefits: Strengthens thighs and glutes, improves balanceand detoxification.

Steps:

  • Stand with feet together, arms by your side.
  • Inhale, raise arms overhead; exhale and bend knees to sit into a chair pose.
  • Bring palms together at your chest (Namaste).
  • Twist your torso to the right, bringing your left elbow outside your right knee.
  • Keep knees aligned and spine long.
  • Hold, then return to center and repeat on the other side.

Bhujangasana (Cobra Pose)

Benefits: Strengthens back muscles, opens chest, relieves stress.

Steps:

  • Lie face down with legs extended, tops of feet flat on the mat.
  • Place hands under your shoulders, elbows close to the body.
  • Inhale, gently lift your chest off the floor using your back muscles.
  • Keep elbows slightly bent and shoulders away from ears.
  • Hold while breathing steadily, then slowly lower down.

Vasisthasana (Side Plank Pose)

Benefits: Strengthens arms, core, and legs; improves balance.

Steps:

  • Start in a plank position.
  • Shift your weight to your right hand and outer edge of the right foot.
  • Stack your left foot on top of your right.
  • Raise your left arm straight up toward the sky.
  • Keep your body in a straight line, core engaged.
  • Hold, then return to plank and switch sides.

End of Article

Suffering With High Blood Pressure? This Yoga Pose Can Help With That And More

Suffering With High Blood Pressure? This Yoga Pose Can Help With That And More

(Credit-Canva)

Text

Updated May 1, 2025 | 04:00 AM IST

SummaryDoing yoga for one's health is a great way to combat preventable issues. Yoga poses range from simple to advanced, giving space for everyone who wishes to practice it.

Yoga is an adaptable exercise that has poses and asanas to accommodate people according to their needs. Not everyone can perform the exercises at the same level as an experienced yoga practitioner. There are standing, flowing as well as sitting poses, these ranges allow people with all kinds of abilities to practice yoga, whether they have mobility issue, or motor control issues etc.

When it comes to conditions like heart issues, high blood pressure and blood sugar issues, people have to be very cautious. While controlling food helps them improve their health, without exercise it is not easy to do so. If you are also struggling with these issues but are unsure of what exercises you must do, try yoga. There are many poses that can help you build your health and live a healthier life like Vajrasana pose. It is a simple sitting pose that not only improves high blood pressure, but also reduces back pain, increases focus etc.

What is Vajrasana Pose?

In Vajrasana, when you kneel and sit back, it gently takes some of the pressure off your knees. This position is often used when you're doing breathing exercises to calm your mind or when you're meditating to feel more peaceful inside. People who follow Ayurvedic medicine, an old Indian system of health, believe that sitting in this way helps your body become as strong and stable as a diamond. It's about finding strength in being still and focusing your energy.

Here’s how to do it

  • Begin by kneeling down on the floor. Consider placing a yoga mat underneath for added comfort to your knees and shins.
  • Bring your knees and ankles together so they are touching. Point your feet straight back behind you, in line with your legs. The soles of your feet should face upward, and your big toes should touch gently.
  • Exhale slowly as you gently lower your buttocks down to rest on your heels. Your thighs will naturally rest on top of your calves in this position.
  • Place your hands on the tops of your thighs. Gently adjust your pelvis by rocking slightly backward and forward until you find a comfortable and balanced seated position.
  • As you inhale and exhale slowly, focus on straightening your spine. Imagine a gentle lift from the base of your spine to the crown of your head, helping you sit tall. Gently press your tailbone slightly towards the floor.
  • Straighten your head so you are looking directly forward, with your chin parallel to the floor. Rest your hands on your thighs with your palms facing down, keeping your arms relaxed. Breathe gently and evenly in this pose.

When Should You Avoid Doing Vajrasana

Before you start doing any yoga exercises, it's a good idea to talk to your doctor. They can tell you how yoga might affect your current health and suggest ways to do it safely so you don't have any problems. Here are some reasons why you should avoid doing this pose.

  • If you have recently undergone surgery on your knees.
  • If you have a condition that affects your spinal cord, particularly in the lower vertebrae (lower back)
  • If you have intestinal ulcers, a hernia, or any other intestinal problems such as an ulcer or hernia
  • If you are pregnant, it's important to speak with your doctor before attempting Vajrasana.

End of Article

Simple Yet Effective Yoga Pose That You Can Help You Focus On Your Work

Simple Yet Effective Yoga Pose That You Can Help You Focus On Your Work

(Credit-Canva)

Text

Updated Apr 30, 2025 | 04:00 AM IST

SummaryYoga may be an exercise form that benefits your physical health, the numerable benefits of yoga on your mind is a great thing. One particular pose that can help you beat anxiety and stress to focus on your work is this.

One of the biggest benefits of yoga is its effectiveness to relieve stress and help you focus on your current self of well-being. While you may think yoga needs to be done in a certain place at a certain dedicated time, most yoga poses do not need extra bells and whistles. All you need is the right yoga pose. One such yoga pose that you can do anywhere and anytime is Padmasana. It may look similar to sitting cross-legged, but there are slight differences between them.

Also known as the Lotus pose, it is a pose that symbolises peace and resilience. While you can definitely practice this at home, if you have a comfortable work chair you can practice this a well. While it may be a bit difficult to sustain this pose, you will notice many differences in your body after a while of doing it.

Benefits of Padmasana

Regular practice of Padmasana offers several physical benefits. It provides a beneficial stretch to the muscles of the thighs, calves, ankles, and hips. Additionally, it can help in correcting minor irregularities in the spinal alignment and positively affect the pelvic region and the lower abdomen.

Beyond the physical stretch, Padmasana offers therapeutic advantages. By encouraging an erect spine it helps to correct posture. It also enhances flexibility in the lower extremities, specifically stretching the ankle and knee joints. Furthermore, it can improve blood circulation in the abdominal area and may be helpful in managing menstrual discomfort and sciatica issues.

What Else Does It Help You With?

Beyond the physical stretch, Padmasana offers therapeutic advantages. By encouraging an erect spine, it helps to correct posture. It also enhances flexibility in the lower extremities, specifically stretching the ankle and knee joints. Furthermore, it can improve blood circulation in the abdominal area and may be helpful in managing menstrual discomfort and sciatica issues.

The practice of Padmasana involves several muscle groups working together. These include the hip abductors, flexors, and medial rotators in the hips. The pose also engages the muscles around the knees and elbows, as well as the ankle plantar flexors in the ankles.

How to Do Padmasana

  1. Gently bend your right leg at the knee. Carefully fold it inwards and place your right heel on top of your left thigh. The sole of your right foot should be facing upwards.
  2. Now, bend your left leg at the knee and fold it. Bring your left heel on top of your right thigh, aiming to cross your ankles. Ideally, your heels should be positioned as closely together as is comfortable.
  3. Try to gently press both of your knees down towards the ground as much as feels natural and safe.
  4. Maintain an upright posture with your head, neck, and torso aligned in a straight line. Gently draw your abdomen inwards to support your spine.
  5. Place your left hand below your navel, with the palm facing upwards. Rest your right hand on top of your left hand, also with the palm facing upwards. Allow your shoulders and hands to relax.
  6. Remain in this pose, focusing on your natural breath or gently directing your gaze towards a chosen point.
  7. Gently release your hand position, allowing them to rest comfortably on your knees or thighs.
  8. Slowly and carefully lift the leg that is on top with the support of your hands and place it back down on the mat. Then, gently unfold your other leg.
  9. Finally, slowly straighten both of your legs back to the initial stretched-out position.

End of Article